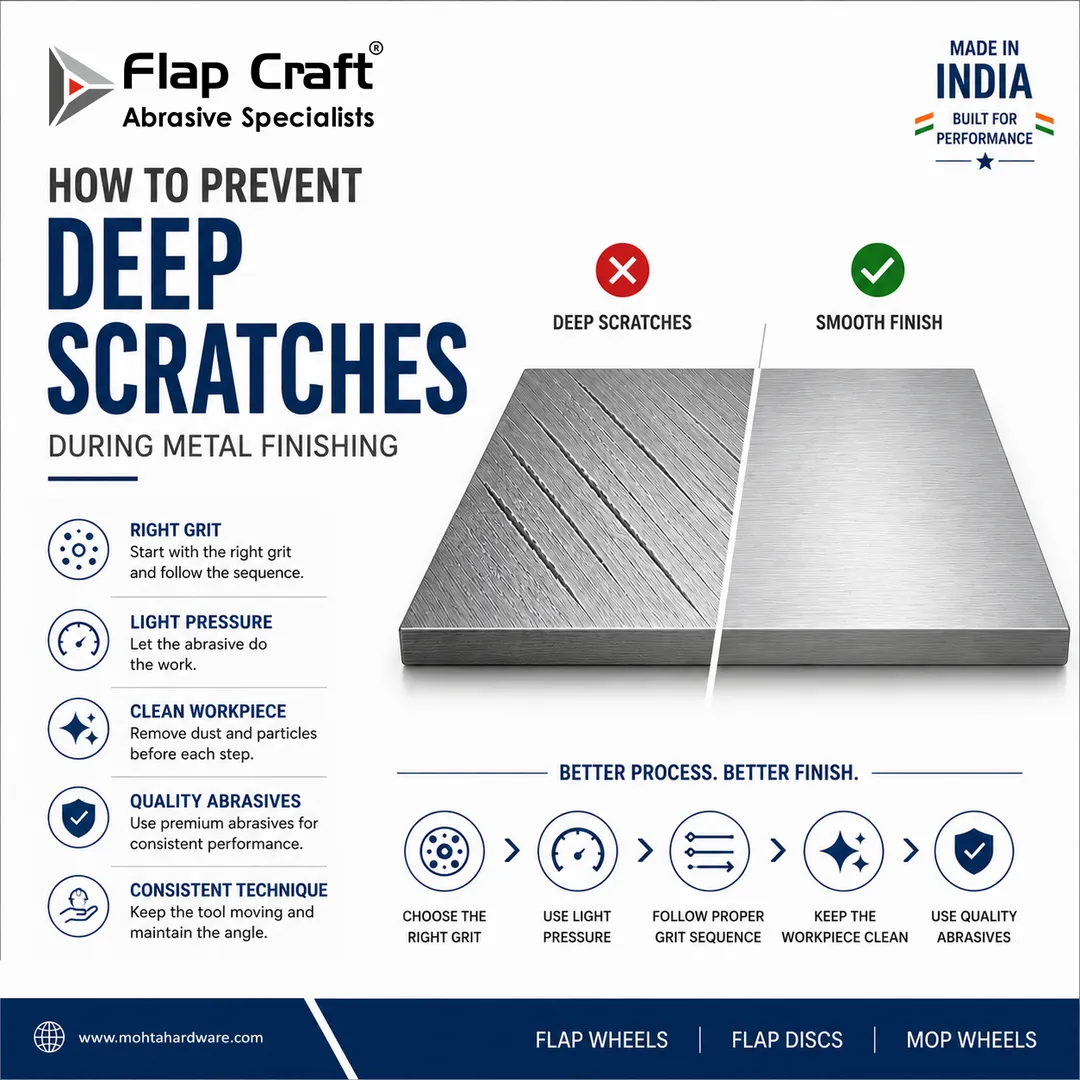
How to Prevent Deep Scratches During Metal Finishing: A Practical Guide for Better Surface Quality
Deep scratches are one of the most common problems in metal finishing. They can ruin the appearance of a component, increase rework, waste abrasives, and delay production. In industries where the final finish matters, even a single visible scratch can lead to rejected parts and unhappy customers.
The frustrating part is that deep scratches are rarely caused by just one mistake. They usually result from a combination of factors. The wrong abrasive grit, excessive pressure, poor grinding technique, contaminated workpieces, worn-out abrasives, or skipping grit sizes can all leave marks that become difficult to remove later.
Most of the deep scratches are preventable. With the right process and the right abrasive, you can achieve a clean, consistent finish while reducing both time and cost.
Never Skip Grit Sizes
Many workshops try to save time by jumping directly from a coarse abrasive to a very fine one.
It sounds efficient, but it usually has the opposite effect.
Suppose you begin with a 40 grit flap wheel to remove a weld. Instead of moving to 60 or 80 grit, you switch directly to 240 grit.
Now the finer abrasive has to remove the rougher grooves made by the 40 grit. But finer abrasives are for finishing, not for cutting, so the scratches remain, requiring more time and effort to finish the job.
A better sequence might be:
40 → 60 → 80 → 120 → 180 → 220 → 320
Each step removes the scratch pattern from the previous grit. The work becomes easier, faster, and the final finish looks much cleaner.
Don't Push Too Hard
Many operators believe that applying more pressure will speed up the process.
In reality, excessive pressure often creates more problems than it solves.
Heavy pressure can:
- Create deeper scratches
- Increase heat
- Damage abrasive grains
- Reduce abrasive life
- Leave an uneven finish
Quality abrasives are designed to cut efficiently on their own. Let the abrasive do the work.
If you're pushing hard just to get acceptable performance, it may be a sign that the abrasive is worn out or the grit is too fine for the application.
Choose the Right Abrasive for the Material
Not every abrasive performs equally well on every metal.
A flap wheel that works perfectly on mild steel may not deliver the same results on stainless steel or aluminium.
For example:
Stainless Steel
Stainless steel is prone to heat discolouration and visible scratch marks. Using high-quality flap wheels with suitable abrasive grains helps maintain a cleaner finish while reducing excessive heat.
Aluminium
Aluminium is softer than steel and tends to clog the abrasive surface. Once the abrasive loads up with aluminium particles, it starts rubbing instead of cutting. This often creates random scratches and poor surface quality.
Mild Steel
Mild steel is generally more forgiving, but selecting the correct grit is still essential for achieving a uniform finish before painting or powder coating.
Matching the abrasive to the material always produces better results than trying to use one product for every application.
Inspect Your Abrasives Before Starting
Even premium abrasives have a limited working life.
As they wear, the cutting action becomes less effective.
Instead of cutting cleanly, worn abrasives begin rubbing against the surface, creating inconsistent finishes and unnecessary heat.
Watch for signs such as:
- Torn abrasive flaps
- Missing abrasive material
- Uneven wear
- Excessive vibration
- Reduced cutting speed
Replacing an abrasive at the right time is usually cheaper than spending extra time removing defects later.
Keep the Workpiece Clean
This step is often overlooked.
Tiny metal chips, grinding dust, welding spatter, or loose abrasive particles trapped between the tool and the surface can create deep scratches in just a few seconds.
Before changing to a finer grit:
- Wipe the workpiece clean.
- Remove grinding dust.
- Blow away loose particles with clean compressed air if available.
- Inspect the surface under good lighting.
Cleanliness becomes even more important when working on decorative stainless steel finishes.
Avoid Cross Contamination
This is particularly important for stainless steel.
Using the same abrasive on both mild steel and stainless steel can transfer small iron particles onto the stainless surface.
Those particles may later rust, causing discolouration and surface defects.
Many professional workshops use separate abrasives for different materials.
Some even colour-code them to avoid accidental mixing.
It is a simple habit that prevents costly quality issues.
Use High-Quality Abrasives
It may be tempting to choose the cheapest abrasive available.
However, lower-quality products often have inconsistent grain distribution, weaker bonding, and shorter service life.
As they wear unevenly, they can produce unpredictable scratch patterns that require additional finishing work.
Premium abrasives typically provide:
- More consistent cutting
- Better surface finish
- Longer working life
- Lower vibration
- Reduced operator fatigue
The initial purchase price may be higher, but the total cost per finished component is often lower.
Follow a Proper Finishing Sequence
Professional metal finishing is a step-by-step process.
Trying to rush through it almost always creates extra work later.
A typical sequence might look like this:
- Remove welds using a coarse grit.
- Blend the surface with a medium grit.
- Refine the finish with a finer grit.
- Prepare for polishing or coating.
- Perform final inspection under proper lighting.
Each stage prepares the surface for the next.
Skipping steps usually means repeating them later.
Frequently Asked Questions
Q- Why do scratches remain even after polishing?
Ans- Polishing removes very fine marks. If deep scratches from earlier grinding stages are still present, polishing alone cannot eliminate them. They must first be refined using progressively finer abrasives.
Q-Which grit is best for removing scratches?
Ans- It depends on the depth of the scratch. Moderate scratches can often be removed with 120 or 180 grit before progressing to finer grits. Deep grooves may require starting with a coarser abrasive and then working through the grit sequence.
Q- Can too much pressure damage the surface?
Ans- Yes. Excessive pressure creates deeper scratches, increases heat, shortens abrasive life, and often leads to an uneven finish.
Q-Why does my stainless steel show scratches after polishing?
Ans- This usually happens because coarse grinding marks were not completely removed before polishing, or because grit sizes were skipped during the finishing process.
Q-Does abrasive quality affect surface finish?
Ans- Absolutely. High-quality abrasives maintain consistent cutting performance and produce a more uniform scratch pattern, making the final finishing process faster and more reliable.
Q-How often should I replace a flap wheel?
Ans- Replace it when cutting performance drops, vibration increases, or the abrasive shows uneven wear. Continuing with a worn tool often causes more defects than it saves in cost.
Q-Can dirty workpieces cause scratches?
Ans- Yes. Metal chips, grinding dust, and loose abrasive particles trapped between the abrasive and the surface can leave deep scratches. Cleaning the workpiece between finishing stages is a simple but important habit.
Q-Looking for Better Surface Finishing Results?
Ans- Choosing the right abrasive is just as important as using the right technique. At Mohta Hardware, we manufacture premium flap wheels and other abrasive solutions designed for consistent cutting, longer service life, and high-quality surface finishes. We also offer custom sizes and grit options to suit specific industrial applications across India.
Whether you're working with stainless steel, mild steel, aluminium, or other metals, selecting the correct abrasive can reduce rework, improve productivity, and help you achieve the finish your customers expect.
Keywords